


Introduction: The Boots That Die Before Their Time
Walk the docks of any busy marina and you’ll see a graveyard that no one talks about. Tucked behind bait tanks, left in truck beds, or slumped in the corner of a garage, there are deck boots that died young. The rubber is cracked. The tread is worn smooth. The lining smells like low tide. Their owners will tell you, “They just didn’t hold up,” as they pull on a new pair of the same boots they’ll replace again in 18 months.
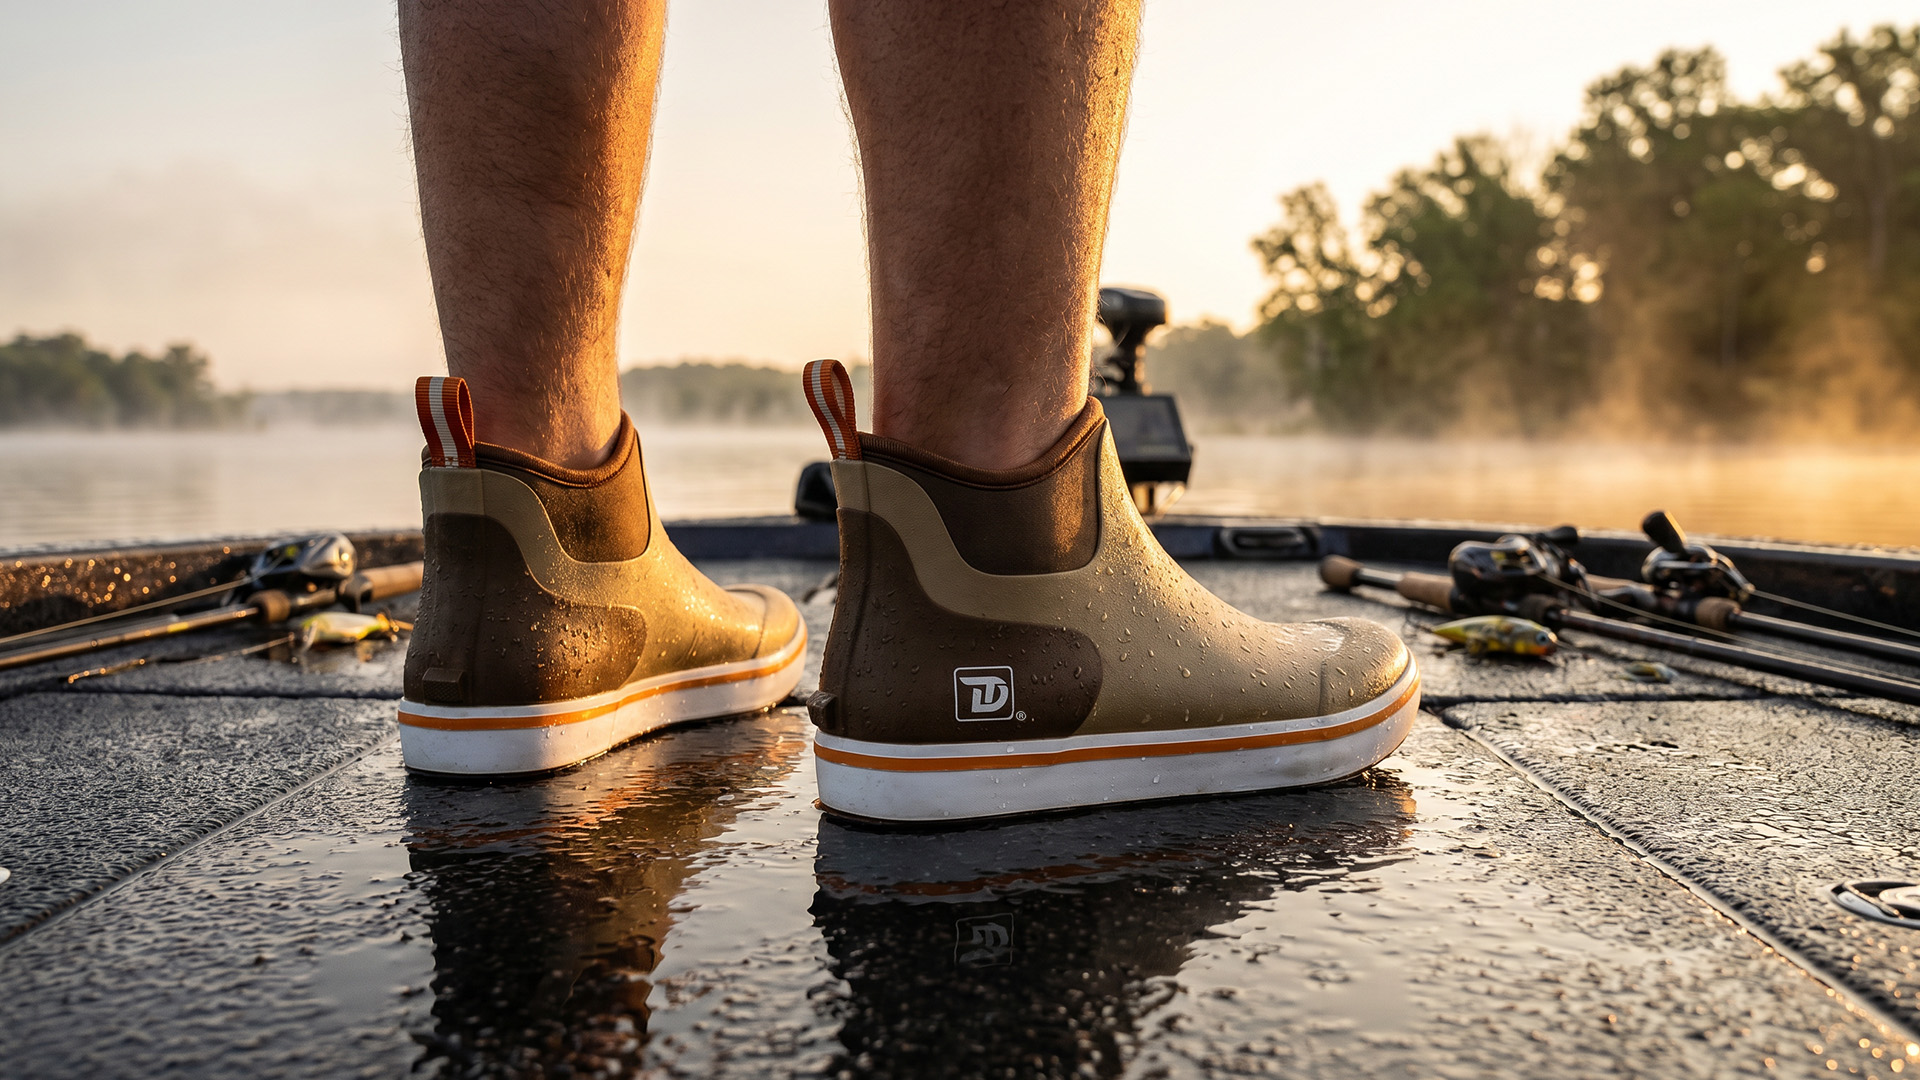
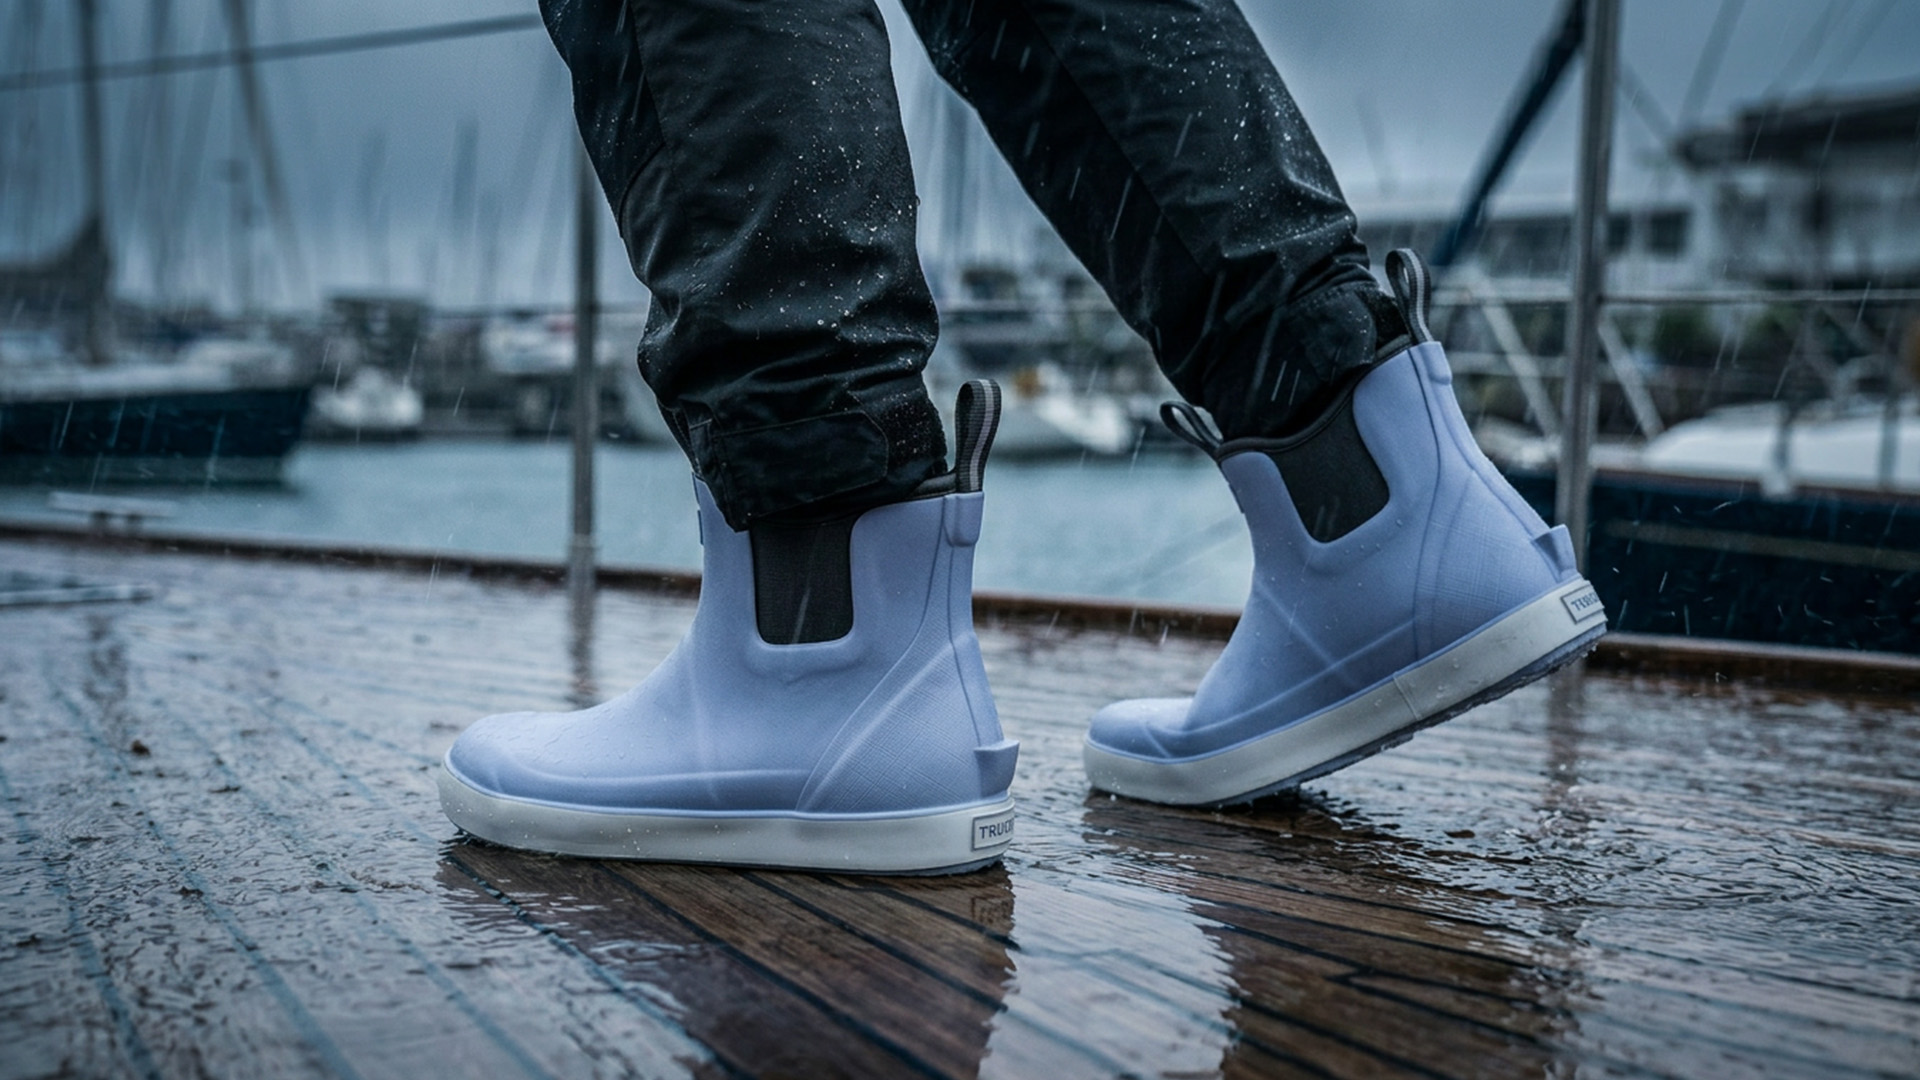
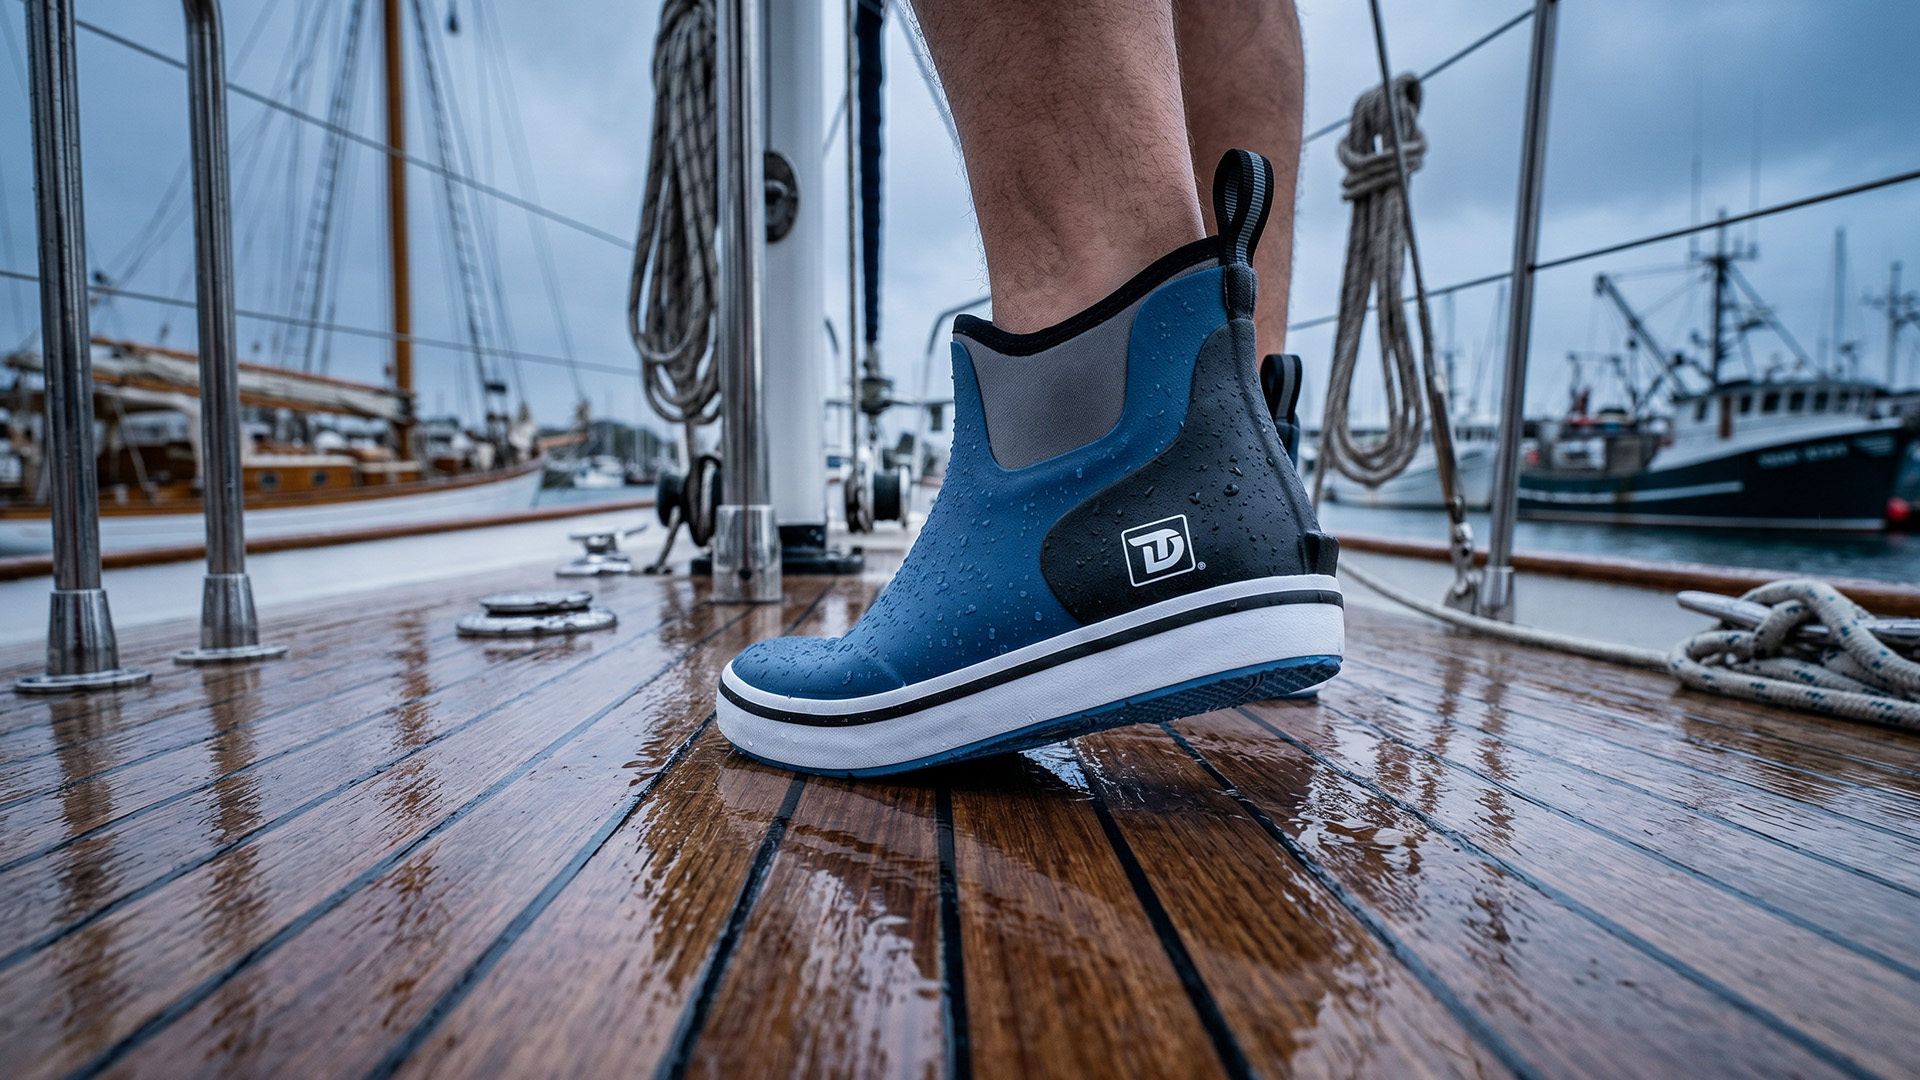
But here’s the thing: premium deck boots—like Trudave’s WaveLock and DeckFlow series—are not disposable. They’re built from vulcanized natural rubber, a material that can flex for millions of cycles without cracking, and lined with neoprene that retains its insulating properties for years. When these boots fail early, it’s rarely a manufacturing defect. It’s what happens after the fishing trip—the way they’re rinsed, dried, stored, and ignored during the off-season.
The care of your boots is boring, unglamorous, and takes roughly two minutes. It’s also the single highest-leverage thing you can do to protect your investment. This guide will walk you through exactly how to clean, condition, store, and repair your Trudave WaveLock and DeckFlow deck boots so they’re still gripping wet decks and keeping your feet dry five seasons from now.
Part 1: Know Your Enemies—What Actually Destroys Deck Boots
Before you can protect your boots, you have to understand what you’re protecting them from. Three environmental factors cause the vast majority of premature boot death.
UV Radiation breaks down the long polymer chains in rubber. Sunlight makes rubber brittle, faded, and prone to cracking. It’s a slow process—you won’t notice it day to day—but boots left in a sunny truck bed or on a south-facing porch will degrade significantly faster than boots stored in the dark.
Heat accelerates every chemical reaction, including the ones that break down rubber and adhesives. Drying boots next to a radiator, a campfire, or in the hot summer sun can cause the rubber to stiffen, crack, or even delaminate from the sole. Vulcanized rubber is tough, but it’s not invincible against a 150°F metal surface.
Salt is the silent killer. Whether it’s from the ocean or a de-iced winter boat ramp, salt crystals work their way into microscopic pores on the rubber surface. When the water evaporates, the crystals remain, expanding and contracting with temperature changes and creating tiny stress fractures that eventually become leaks. Rinsing with fresh water isn’t just a suggestion—it’s the difference between a five-year boot and a one-season disappointment.
Fish slime, blood, and bait residue are organic acids. Left to dry on the surface, they eat away at the rubber’s protective outer layer, causing discoloration and weakening the material over time. A quick rinse removes them. Skipping the rinse lets them marinate.
Part 2: The 90-Second Post-Trip Routine
Trudave’s official care instructions are refreshingly simple: “Rinse the boots with clean water after use, wipe off dirt with mild soap, and let them air dry naturally. Avoid sunlight or heat to preserve waterproof seal and rubber durability.” That’s the whole protocol. But let’s break it down into actionable steps.
Step 1: Rinse immediately. As soon as you’re off the water, blast your boots with a hose or a sink sprayer. Use cool or lukewarm water—never hot, which can damage the neoprene lining. Pay special attention to the tread channels and the siping slits, where mud, sand, and salt can hide. A soft-bristled brush (an old dish brush works perfectly) will loosen any stubborn gunk without scratching the rubber.
Step 2: Mild soap for stubborn grime. If plain water isn’t cutting it, use a tiny amount of mild dish soap and the same soft brush. Avoid harsh degreasers, bleach, or any cleaner containing solvents—they’ll strip the natural oils from the rubber and accelerate cracking. For oil-based stains (diesel, fish oil), a paste of baking soda and water applied for 10 minutes before rinsing works wonders.
Step 3: Dry completely. Remove the insoles and set them aside to dry separately. Wipe the exterior with a clean rag, then stuff the boots with crumpled newspaper to wick moisture from the neoprene lining. Place them in a well-ventilated area at room temperature. Never—and I mean never—put them near a heater, radiator, or wood stove. Heat destroys vulcanized rubber faster than anything except a knife.
Step 4: Inspect. While they’re drying, take 15 seconds to look for small cracks, separation between the rubber and neoprene, or excessive wear on the tread. Catching a problem early means a $7 tube of Shoe Goo can fix it. Ignoring it means replacing the whole boot.
Part 3: The Monthly Deep Clean and Conditioning
Every few weeks during heavy use, or at the end of a particularly brutal trip, your boots deserve a more thorough spa day.
Odor control: Rubber and neoprene are non-porous, but they can trap bacteria that cause odors. Once a month, fill each boot about a third of the way with warm water and a capful of enzymatic cleaner (the kind used for pet stains—it breaks down organic matter without harsh chemicals). Let them sit for a few hours, then drain, rinse thoroughly, and dry as above. The newspaper trick is especially important here to pull moisture from the neoprene.
Conditioning the rubber: Every two to three months, apply a silicone-free rubber conditioner to the exterior. Trudave recommends this specifically to restore the protective layer and maintain flexibility. Avoid products like Armor All, which can leave a slippery film. A dedicated rubber boot conditioner or even a light wipe with a food-grade silicone spray (if you must) will keep the rubber supple and UV-resistant.
Bloom management: Over time, you might notice a white, chalky film on the surface of the boots. This is called “bloom”—it’s a natural process where insoluble particles rise to the surface of high-quality natural rubber. Bloom is cosmetic, not structural, and it actually indicates your rubber still has plasticizers in it. A wipe-down with a damp cloth and a mild rubber conditioner will restore the finish.
Part 4: Series-Specific Care Notes
While the basic protocol is the same for all Trudave deck boots, there are a few nuances worth knowing.
WaveLock Series: The WaveLock features a soft thermal insulation lining and flexible neoprene side panels. The neoprene is durable but can trap odors if not allowed to dry fully. The newspaper-stuffing step is especially critical here. The reinforced heel armor and easy-off tab are tough, but avoid using them to kick off the boots with excessive force on rough surfaces—scraping the rubber heel against concrete repeatedly can wear it down prematurely.
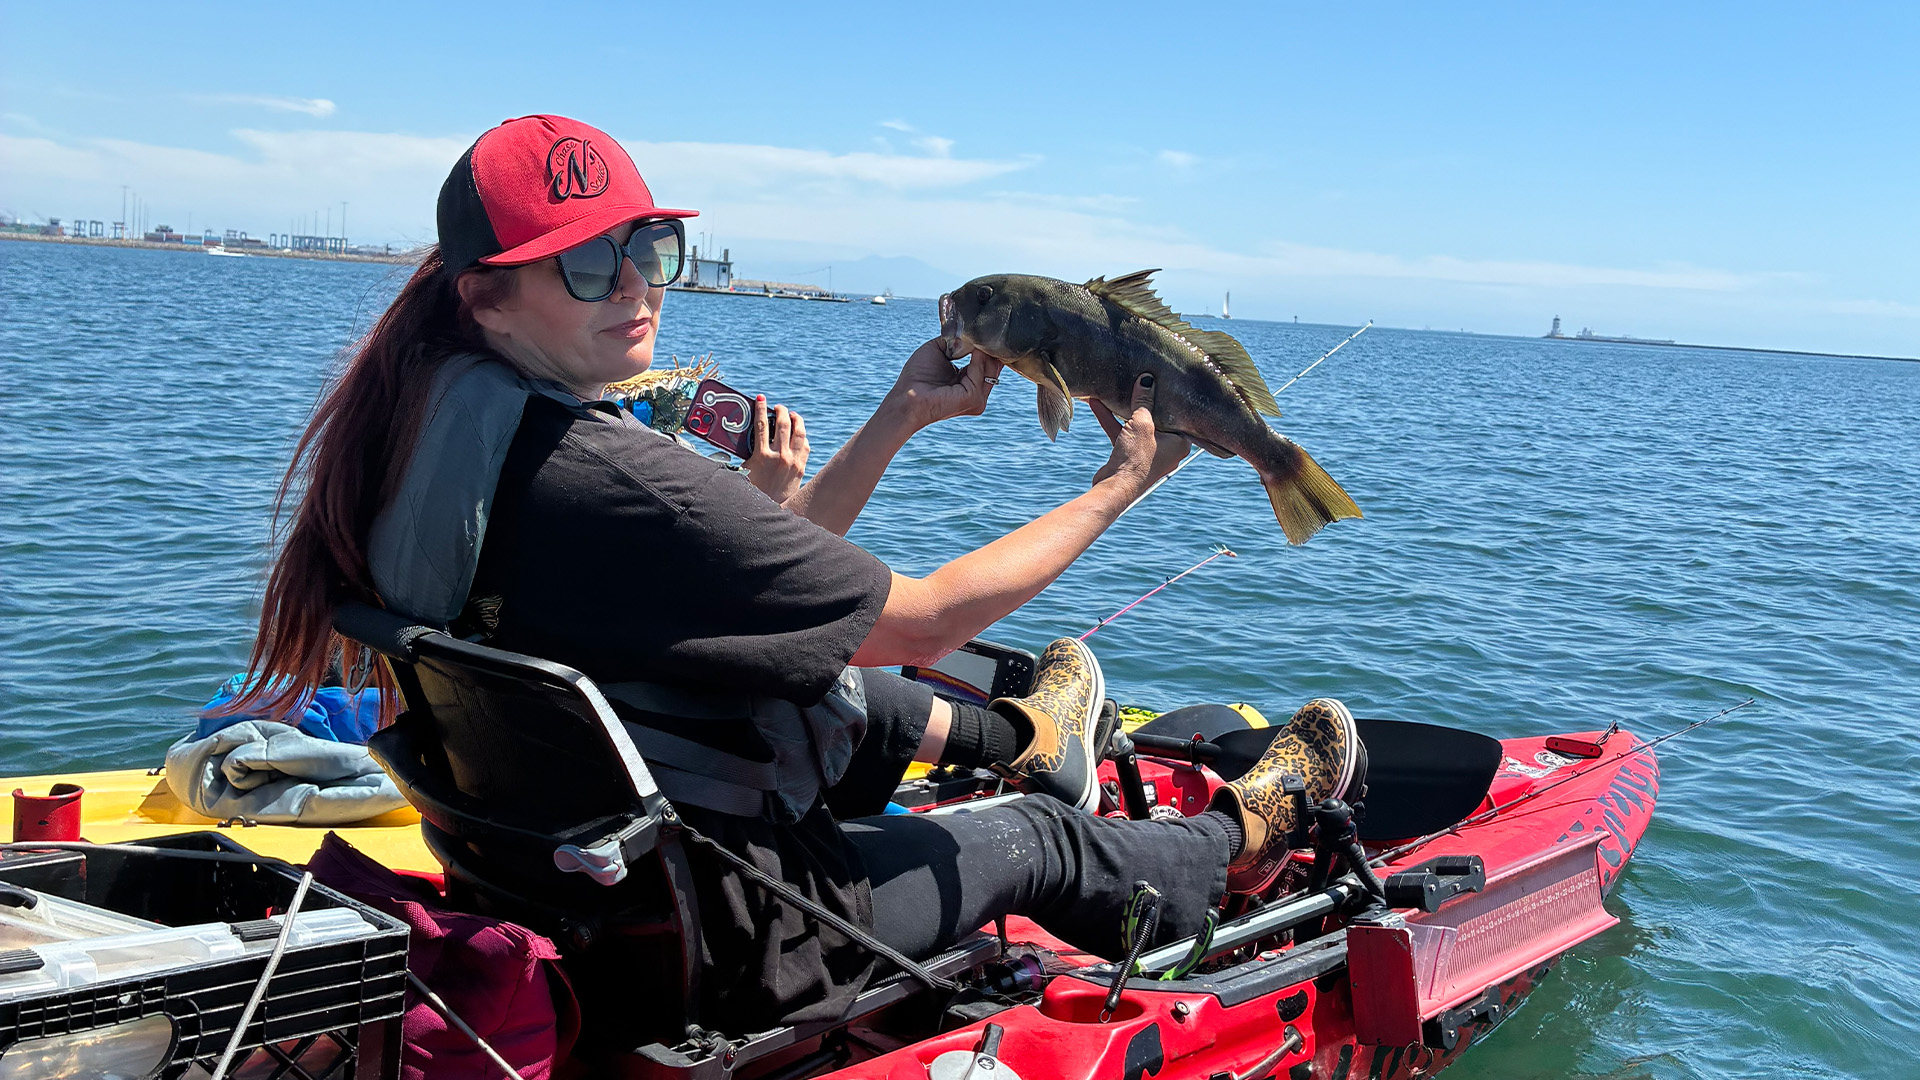
DeckFlow Series: The DeckFlow’s uninsulated, breathable lining dries faster, but the non-marking siped outsole requires attention to embedded pebbles or shell fragments that can get stuck in the siping slits. Pick them out with a small stick or a toothbrush during your rinse to keep the traction channels clear. The DeckFlow’s sleek design means scuffs show more visibly, but a conditioner wipe will restore the finish. Because it’s engineered on dedicated women’s lasts, the fit is precise, so avoid using thick, abrasive insoles that might stretch the upper over time.
Part 5: Storage—The Off-Season Survival Guide
The way you store your boots during the winter or any long break from fishing is arguably more important than how you clean them after a trip.
The golden rules: Store boots upright—never folded or crumpled. Folding creates permanent crease points that will eventually crack. If you have tall boots, use a boot tree or a rolled-up piece of cardboard to help them hold their shape. Store them in a cool, dark, dry place. A basement closet is ideal. An uninsulated garage, attic, or the back of a truck is not.
Temperature matters: The sweet spot is between 50°F and 75°F. Avoid places where temperatures swing wildly—fluctuations cause the rubber to expand and contract, which stresses the material over time.
Pre-storage prep: Clean and completely dry your boots before putting them away for more than a couple weeks. Any moisture left inside will breed mold and mildew. Remove the insoles and let them air out separately. Toss in a couple of silica gel packets (the kind that come in shoeboxes) for extra moisture protection.
Part 6: Repair—When to Fix, When to Replace
Even with perfect care, accidents happen. A sharp gaff hook, a stray piece of coral, or a run-in with a dock cleat can puncture or tear your boot. The good news is that vulcanized rubber is eminently repairable.
Small punctures and cuts: A flexible waterproof adhesive like Shoe Goo or Aquaseal SR works best. Clean the area with isopropyl alcohol, let it dry, apply the adhesive, and press the edges of the tear together. Wipe away excess and let it cure for 24 hours. The repair will be flexible, waterproof, and nearly invisible.
Cracks at the flex point: If you notice hairline cracks developing behind the toe crease, address them immediately. The same adhesive can seal them, but if the cracks are deep or multiple, it’s a sign the rubber is losing its elasticity and the boot is on borrowed time.
When to replace: If the outsole tread is worn smooth and the siping channels are no longer visible, the boot has lost its primary safety function. If the vulcanized bond between the rubber lower and the neoprene upper is separating across more than an inch, it’s not coming back. And if you can feel the deck through the boot—meaning the EVA midsole has compressed into a pancake—the shock absorption is gone, and your joints will feel it next.
Part 7: The Don’t-Do-It List
Some boot-care sins are so common they deserve their own section.
- Don’t dry them with heat. No campfires, no radiators, no hair dryers. Heat is the mortal enemy of rubber.
- Don’t leave them in the sun. UV radiation is a slow but relentless destroyer.
- Don’t use bleach or harsh chemicals. They strip the natural oils from rubber and cause cracking.
- Don’t store them damp. Mold and mildew love dark, wet rubber. They’ll eat the lining and leave a smell you can’t remove.
- Don’t fold them. Creases become cracks. Always store upright.
- Don’t ignore salt. Freshwater rinse, every time, no exceptions.
Conclusion: The Return on Two Minutes
The fishing gear industry runs on a cycle of replacement. New lures, new rods, new boots—always something better, faster, shinier. But the most sustainable, cost-effective piece of gear you’ll ever own is the one you already have, properly maintained. Two minutes after each trip. An hour once a month. A conditioning wipe every few months. That’s the entire investment required to turn a boot that might last two seasons into one that lasts five or more.
Trudave Gear built the WaveLock and DeckFlow with materials that reward care. Vulcanized natural rubber that flexes without cracking. Neoprene that insulates without packing out. Sealed seams that don’t delaminate. These aren’t disposable PVC shells destined for a landfill. They’re purpose-built tools for people who love being on the water, and like any good tool, they last longer when you respect them.
Your boots will never ask you for much. Just a rinse, a dry spot in the shade, and a little attention when something seems off. Give them that, and they’ll keep your feet dry and planted on the deck for years longer than you ever expected.
To explore the complete Trudave Gear deck boot lineup and find the right pair for your next day on the water, visit trudavegear.com.