


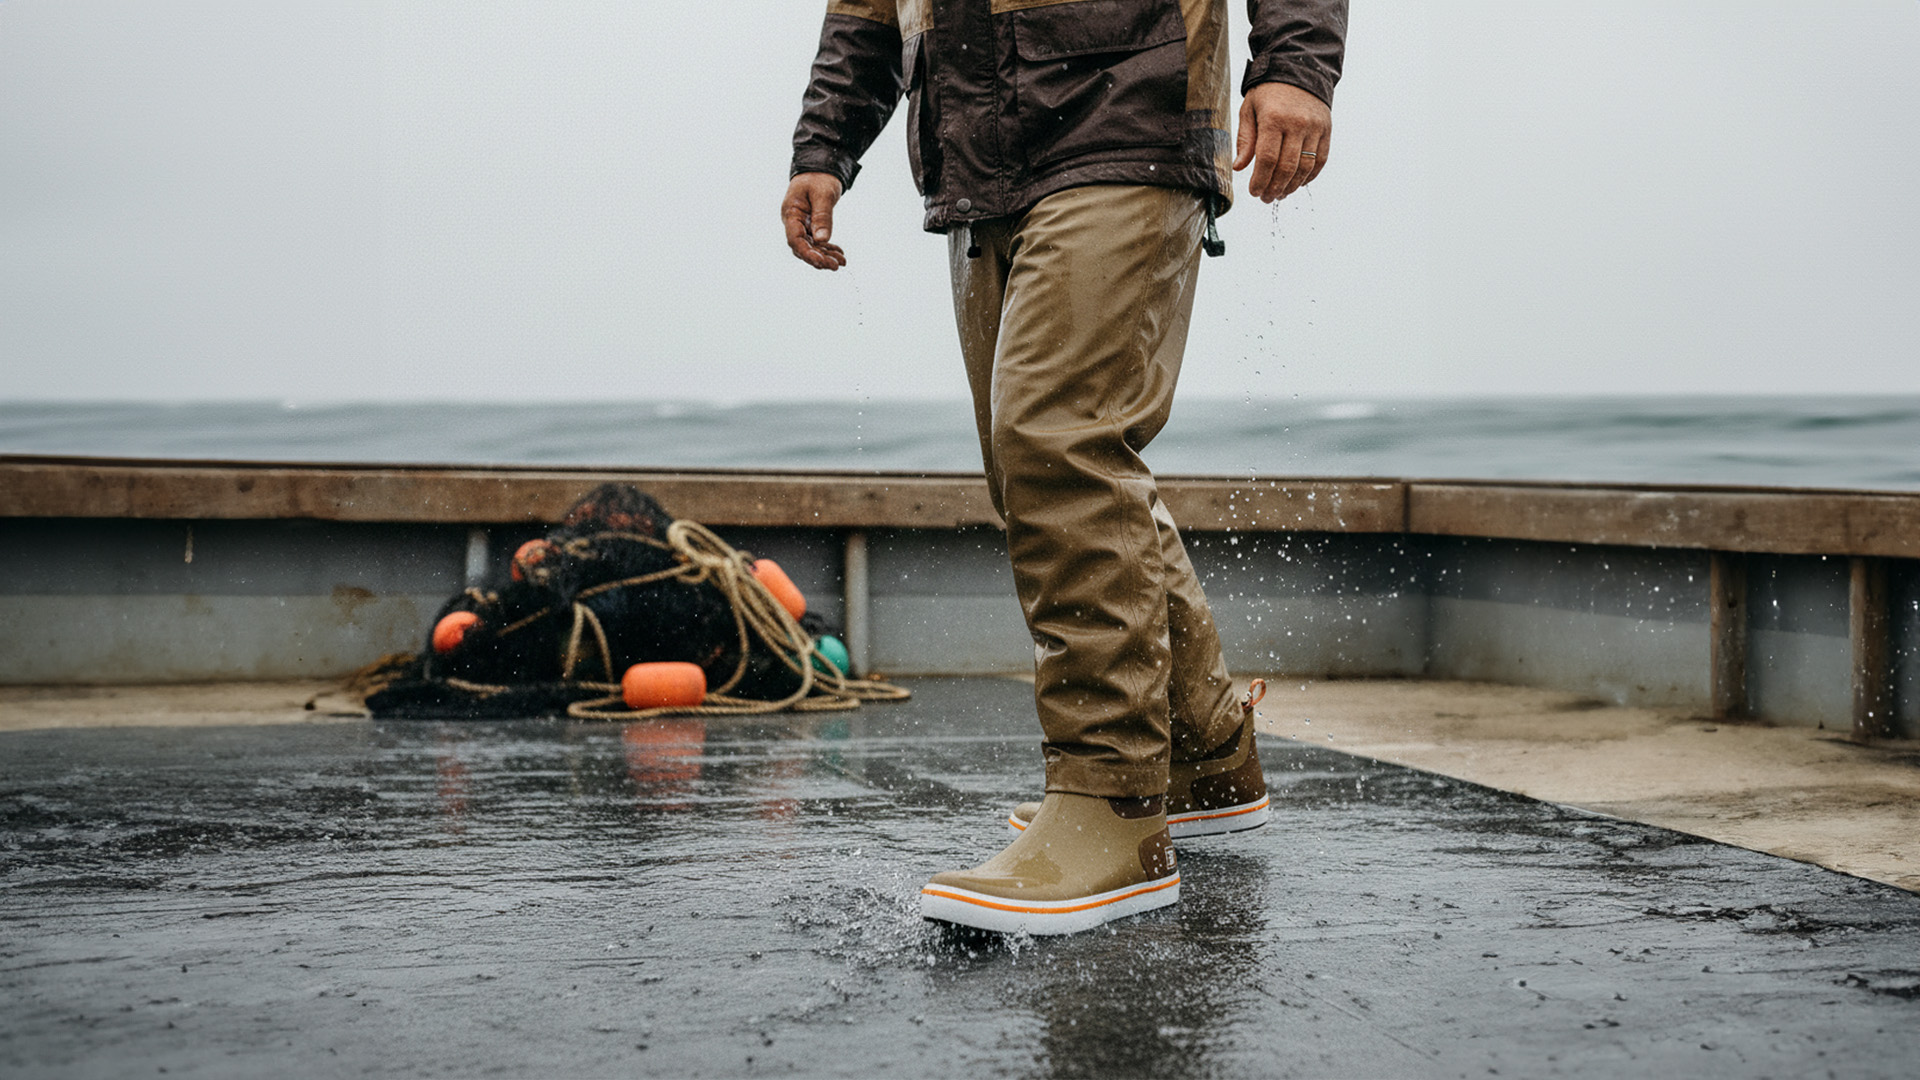
Most anglers replace deck boots every 1–2 seasons because of neglect, not wear-out. Here’s the complete guide to getting 5 full seasons from your Trudave deck boots — care, storage, repair, and maintenance that actually works.
The most expensive pair of fishing boots you’ll ever own is the one you replace every season because you didn’t take care of the previous pair.
This is not hypothetical. It’s the actual math of how most anglers manage their footwear. They buy a quality pair of deck boots. They use them hard for a season, store them badly over the winter, and discover in March that the rubber has cracked, the outsole is delaminating, or the neoprene has developed a mildew problem that makes the boots unwearable.
So they buy new boots. And repeat the cycle.
The alternative — proper care, correct storage, timely maintenance, and the small repairs that prevent small issues from becoming boot replacements — extends the life of a quality pair of Trudave deck boots from one or two seasons to four or five. The math is straightforward: the cost of care is essentially zero. The cost of an additional three seasons of boot life at current pricing is significant.
This guide covers every aspect of deck boot longevity — post-trip care, seasonal maintenance, off-season storage, common failure points, and how to address them before they become boot-ending problems. It applies to every boot in Trudave’s deck lineup: the NeopreneTrek, WaveLock, Seafarer Lite, Ocean Breeze, WildProwl, and DeckFlow.
Understanding What Actually Kills Deck Boots
Before the care protocols, it helps to understand the real causes of deck boot failure — because most anglers blame the wrong things.
Myth: Boots Wear Out From Fishing
The truth: boots wear out from neglect between fishing trips. The physical use of fishing — walking, standing, the occasional deck wash — is well within what rubber-and-neoprene construction handles across multiple seasons. What kills boots is what happens when the trip is over.
Salt crystallization is the number one enemy of saltwater fishing boots. When salt water dries on and in boot material without being rinsed, salt crystals form and expand within the rubber compound and at seam points. Over repeated cycles of salt impregnation and drying, these crystals work into the material structure and create micro-fractures that progressively compromise both waterproofing and structural integrity. Boots that are rinsed after every saltwater trip last dramatically longer than boots left to dry with salt residue intact.
UV degradation is the second major failure mechanism and the most consistently underestimated. Rubber compounds break down under UV exposure — this is why car tires crack after years of sun exposure, and it’s why boots stored in a sunny garage window or left on an exposed dock fail faster than boots stored in a cool, dark location. In Gulf Coast and Southwest conditions, boots left in direct sun in a truck bed or on an open dock during a day of fishing accumulate meaningful UV exposure in a single trip.
Wet storage is the third major failure mechanism. Boots stored wet — neoprene still damp, rubber shell retaining moisture — develop mildew in the interior lining that degrades both the material and the boot’s wearability. The neoprene loses insulation efficiency faster when repeatedly wet-stored without adequate drying. Trapped moisture also accelerates the adhesive bond degradation between rubber and neoprene at the collar transition — one of the most common failure points in rubber-and-neoprene boots.
Compressed or folded storage damages neoprene through repeated stress at fold points. Boots stored piled in a bin, stuffed under a seat, or folded in half for storage develop permanent creases in the neoprene that eventually crack. Stored upright or stuffed loosely with newspaper, neoprene maintains its shape and flexibility through multiple seasons.
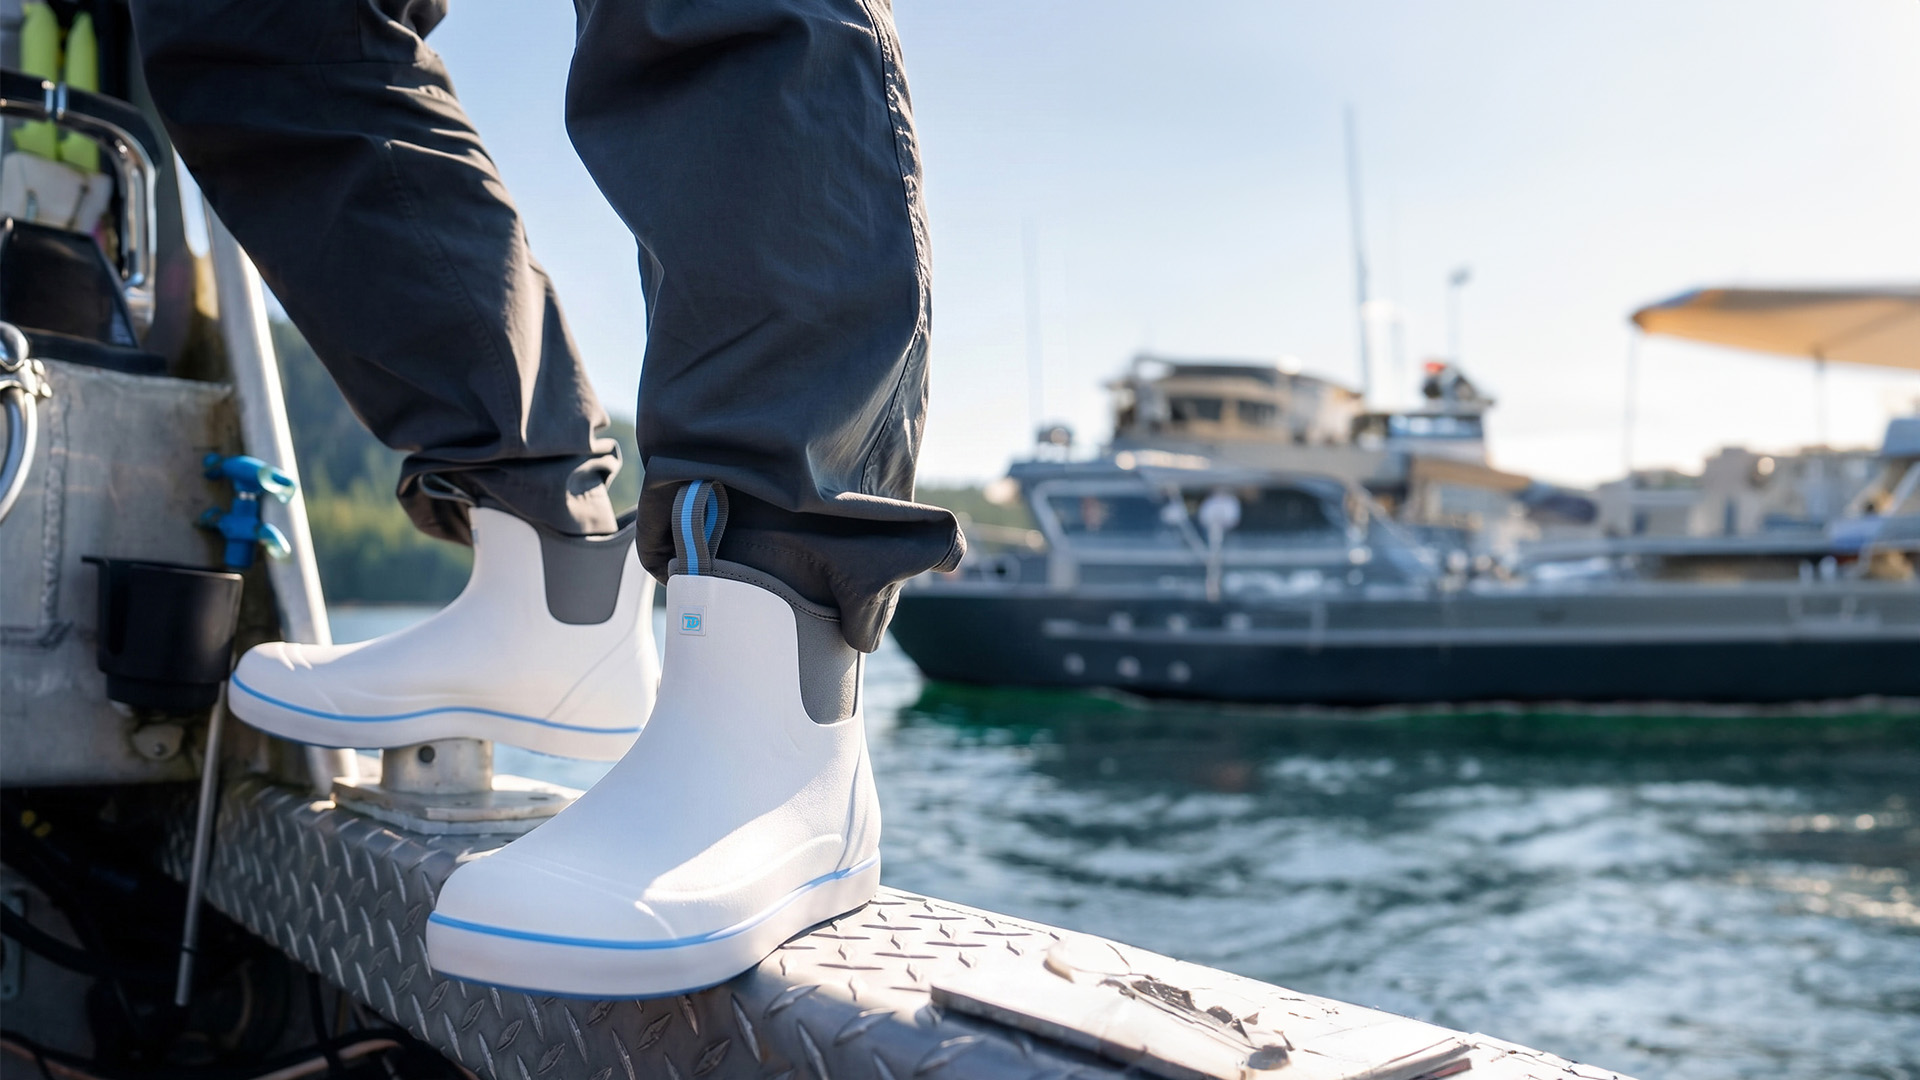
Outsole channel neglect is the failure mode that affects traction rather than waterproofing. The NeopreneTrek’s non-marking, deck-safe outsole uses fine siping and multi-directional herringbone channels to shed water and grip on slick decks, fiberglass, and docks. These channels only shed water when they’re clear — biological material, sand, and fine debris packed into the channels fill the drainage function that creates grip. Anglers who wonder why their boots seem less grippy in their second season than their first are often dealing with packed channels, not worn rubber. nationalfisherman
The Post-Trip Care Routine: 3 Minutes That Add Years
The single most impactful maintenance investment is a consistent post-trip routine that takes less time than rigging a rod for the next trip.
After Every Freshwater Fishing Trip
Step 1 — Outsole channel clearing (30 seconds). While still at the water or before loading the vehicle, knock the boots sole-to-sole to dislodge loose debris from the outsole channels. A boot brush or stick clears any remaining material from the herringbone grooves and siping channels. Clear channels maintain their water-shedding function; packed channels progressively lose it.
Step 2 — Full rinse (90 seconds). Hose down the entire boot exterior — sole, shaft, and pull tab areas — with clean water. Fresh mud and organic material rinse easily when wet; dried mud from the previous trip requires a brush and significantly more effort. Rinsing while the material is still fresh from the trip takes a fraction of the time of cleaning dried, hardened debris later.
Step 3 — Interior check (30 seconds). If any moisture entered the interior during the trip — from the top of the boot or from perspiration during active fishing — tip the boot to drain and allow interior air circulation. A quick shake to redistribute any water toward the boot opening speeds the drying process.
Step 4 — Upright drying (0 active time, but important). Stand boots upright or on a boot rack in a location with air circulation and shade. Do not place over a direct heat source — low airflow drying takes longer but is far less damaging to rubber and neoprene than concentrated heat. Do not store horizontally or piled on top of each other until fully dry.
After Every Saltwater Fishing Trip
The freshwater post-trip routine applies, plus one critical addition:
Thorough fresh-water rinse of ALL surfaces including undersole. Rinse off saltwater or mud with clean water after each use, then air dry in a cool place. For saltwater fishing, “thorough” means running water through the outsole channels specifically — not just rinsing the exterior boot surface. Salt that dries in the narrow channels of a siped outsole is harder to remove and more damaging than salt on the open boot exterior. Hold the boot sole-up under a running hose and work water into the channel pattern directly. Trudave Gear
The timing matters: rinse before the salt water dries, not hours later. Salt that has dried and begun crystallizing in the boot material is harder to remove and has already begun its degradation work. For offshore anglers who can’t rinse at the ramp, carry a gallon jug of fresh water specifically for rinsing boots before salt dries during the drive home.
The Mid-Season Inspection: Catching Problems Before They End Your Boots
At the halfway point of your fishing season — approximately 20 to 30 trips in for most recreational anglers — a five-minute inspection identifies the small issues that become big problems if ignored for another 20 to 30 trips.
What to Check
The neoprene-to-rubber collar transition. This is the highest flex-stress point in any rubber-and-neoprene deck boot. The repeated ankle flexion of walking, stepping, and boarding creates the most concentrated stress at this junction. Run your thumb firmly around the entire collar circumference where neoprene meets rubber. Feel for any lifting, separation, or soft spots where the bond has begun to release.
A small separation — less than a quarter inch — caught at mid-season is a 10-minute repair with waterproof boot adhesive that costs less than two dollars and saves the boot. The same separation ignored for another 20 trips becomes a full delamination that admits water with every wet step.
The outsole heel and toe bond. The outsole’s highest-wear points are the heel strike zone and the toe push-off zone. At mid-season, press firmly around the perimeter of the outsole at both these locations and feel for any spongy separation between outsole and boot lower. Again — small separation caught early is a repair. Full separation discovered mid-trip is a boot failure at the worst possible moment.
The pull tab and pull loop attachment points. Grab each pull tab or loop and apply firm upward pressure — approximately the force you’d use to pull on a stuck boot. Check that the attachment point shows no tearing, fraying, or separation from the boot material. Pull tabs are functional components that experience real stress on every boot entry and exit, and their failure is often sudden rather than gradual.
Neoprene surface condition. Look for surface cracking in the neoprene, particularly at areas of repeated contact with the boat gunnel, dock edges, or other hard surfaces. Small surface cracks in neoprene don’t necessarily indicate imminent waterproof failure, but they indicate that the neoprene is beginning to dry out — the precursor to more significant cracking. Apply a neoprene conditioner (the same products used for wetsuit maintenance are appropriate) to restore flexibility and slow further cracking.
Making Small Repairs
For collar delamination: Clean both surfaces with isopropyl alcohol and allow to dry completely. Apply waterproof contact cement (Barge cement or equivalent marine-grade adhesive) to both surfaces, allow to become tacky per the adhesive instructions, press firmly together, and clamp for the cure time specified. A correctly made repair holds as well as the original bond for the remainder of the season and beyond.
For outsole separation: The same contact cement approach applies. The outsole repair is more critical for waterproofing function than the collar repair — a separated outsole can allow water to enter from the bottom of the boot in ways that no amount of shaft waterproofing can prevent. Address outsole separation immediately.
For pull tab tearing: Minor fraying at a pull tab base can be stabilized with a small bead of flexible shoe adhesive around the frayed edges. Significant tearing at the attachment point typically requires a boot cobbler for a proper repair — the force loads on pull tabs are higher than DIY adhesive can reliably address.
The Seasonal Transition: Storing Boots Between Fishing Seasons
For anglers with a defined fishing season — northern anglers who fish April through November and then store gear for winter — the storage period is when boots are most commonly damaged. Correct off-season storage is the difference between boots that come out of storage ready to fish and boots that come out cracked, mildewed, and needing replacement.
The End-of-Season Storage Protocol
Step 1 — Deep clean. The most thorough cleaning of the year happens at the end of the season, not at the beginning. Remove all accumulated debris from outsole channels. Wash the full exterior with mild soap and a soft brush. Rinse completely and allow to dry fully — at least 48 hours in a well-ventilated area.
Step 2 — Interior treatment. If the interior lining has developed any musty odor from moisture retention during the season, treat with a diluted solution of white vinegar (one part vinegar to four parts water) sprayed into the interior and allowed to air dry completely. The vinegar neutralizes the mildew compounds without damaging the boot material.
Step 3 — Neoprene conditioning. Apply a neoprene conditioner to the boot shaft exterior. This restores the neoprene’s natural oils that regular washing removes over a season, maintaining flexibility and preventing the surface cracking that begins when neoprene dries out during off-season storage.
Step 4 — Shape maintenance. Stuff the boot interior loosely with crumpled newspaper. The newspaper absorbs any residual moisture and helps the boot maintain its shape during storage. Avoid tight packing that compresses the toe box — maintain the natural boot shape throughout storage.
Step 5 — Storage location. Store in a cool place and avoid direct sunlight or heat to preserve waterproof performance and rubber flexibility. The ideal storage location is cool (below 70°F), dark (no UV exposure), and has moderate humidity (not bone dry, which accelerates neoprene brittleness, but not damp, which encourages mildew). A climate-controlled closet or basement is better than a garage or shed that experiences temperature extremes. Trudave Gear
Step 6 — Position. Store upright, not horizontal. Boots stored on their sides develop compression set at the contact point over months of storage. Stored upright, they maintain their original shape through the off-season.
The Start-of-Season Inspection: Before Your First Trip
The five minutes spent inspecting boots before the first trip of the season is insurance against discovering problems mid-trip on the first fishing day.
Visual inspection first. Look at the full boot exterior for any surface cracking in the rubber or neoprene that developed during off-season storage. Check the outsole bond at heel and toe. Check the collar transition area. Look for any deformation of the boot shape that suggests storage position issues.
Flex test. Flex each boot through its full range of ankle motion by hand. The rubber and neoprene should flex smoothly without cracking sounds or resistance. Cold-stored boots may take a few minutes of hand flexing to restore full flexibility — this is normal. Audible cracking during flex indicates surface or deeper rubber cracking that should be examined before putting the boots in service.
Waterproof verification. Fill each boot with water to within two inches of the collar and hold upright for two minutes. Any moisture penetrating through the boot lower is a waterproofing failure that needs repair before the season starts. Do this at home, not at the ramp on opening day.
Outsole channel condition. Check that the siping channels and herringbone grooves are clear and open from storage. Any material that worked into the channels during the last season’s use should be cleared with a boot brush before the first trip.
The 5-Season Boot: What It Actually Looks Like
An angler who follows the care protocols in this guide — post-trip rinse, correct drying, seasonal storage, mid-season inspection, and timely small repairs — can realistically expect the following longevity from a quality Trudave deck boot:
Season 1: Full performance across all specifications. Outsole grip at maximum. Waterproofing integrity complete. Neoprene flexibility optimal.
Season 2: Minimal wear on outsole high-contact points. Boot performance still full. Small maintenance actions (collar check, outsole perimeter check) may identify minor issues to address.
Season 3: Outsole channels may show some wear but remain functional with cleaning. Neoprene may benefit from conditioning. Boot performance still strong for typical fishing use.
Season 4: The boot is showing its age in the cosmetics — some surface marking, visible outsole wear — but structural and waterproofing performance remains solid with correct care. Outsole grip may be slightly reduced on the most challenging surfaces.
Season 5: A well-cared-for boot in its fifth season is still a functional fishing boot. It’s not the boot it was in season one, but it’s protecting your feet and providing adequate grip for typical fishing conditions. The angler who reaches season five is the angler who spent essentially nothing on replacement boots over a period when a neglected boot required two to three replacements.
FAQ
How often should I rinse my Trudave deck boots? After every trip, without exception. Rinse off saltwater or mud with clean water after each use. The post-trip rinse is the single most impactful maintenance action for boot longevity. The two minutes it takes after every trip prevents the accumulated degradation that requires a boot replacement after one or two seasons. Trudave Gear
Can I put Trudave deck boots in a dryer to speed up drying? No — machine dryer heat damages rubber and neoprene compounds. Air drying is the correct method. For faster drying, use a boot dryer on the lowest heat setting, or place near a fan in a well-ventilated area. Never use a clothes dryer, space heater, or direct heat source.
How do I remove fish smell from the inside of my deck boots? A diluted white vinegar solution (one part vinegar to four parts water) sprayed into the boot interior and allowed to air dry neutralizes organic odor compounds without damaging boot material. For persistent odors, baking soda packed into the boot overnight absorbs residual odor compounds before airing out.
Can I repair a separated outsole myself? Yes, for partial separation of less than two to three inches. Waterproof contact cement (Barge cement or equivalent marine grade) applied to both cleaned surfaces, allowed to become tacky, pressed firmly together, and clamped provides a bond that holds well for most repair situations. Full outsole separation covering the heel or toe area is better addressed by a cobbler.
What’s the best way to store Trudave deck boots over winter? Clean thoroughly, dry completely, stuff loosely with newspaper, apply neoprene conditioner to the shaft exterior, and store upright in a cool, dark location away from UV exposure and temperature extremes. Avoid direct sunlight or heat to preserve waterproof performance and rubber flexibility. Trudave Gear
Do siping channels wear out and need replacement? The siping channels in Trudave’s outsoles are cut into the rubber compound itself — they wear gradually as the overall outsole wears, rather than failing separately. Keeping the channels clear of debris maintains their function through the life of the outsole. When the rubber depth itself has worn to the point where the channel cuts are no longer visible, the outsole has reached the end of its grip life.
Where can I buy Trudave deck boots? Available at trudavegear.com/collections/deck-boots with free shipping to the continental US and through Amazon.
Final Thoughts
The five-season deck boot is not a fantasy — it’s the predictable result of treating waterproof footwear with the same attention you give your rods, reels, and electronics. The materials in a quality Trudave deck boot are durable enough to serve you well beyond a single season. What determines whether they do is what you do in the two minutes after every trip and the thirty minutes of seasonal storage and inspection that bookend each fishing year.
Rinse consistently. Store correctly. Inspect regularly. Repair early. These four practices cost essentially nothing and return multiple seasons of boot performance that replacing boots every year or two never can.
Take care of your boots. They’ll take care of your feet for a long time.
Shop Trudave Deck Boots → trudavegear.com/collections/deck-boots